by Juan Mesquida
Sometimes it is those of us who know less than can share useful tips to make some baby steps in learning a skill. Even if my expertise about shorebirds is quite limited, I hope I will be of some help for those who still have to find the beauty of it.
My interest for shorebirds is a recent one. It was only in the last two years when I became really thrilled about going to the mudflats to familiarize myself with the shorebirds. This does not mean I have not done a fairly good amount of this type of birding before. This article is far from being a learn-everything-you-need-to-know class. It is just a hodgepodge of tips from my own experience which I find useful and may help others. For the sake of clarity I will number my tips.
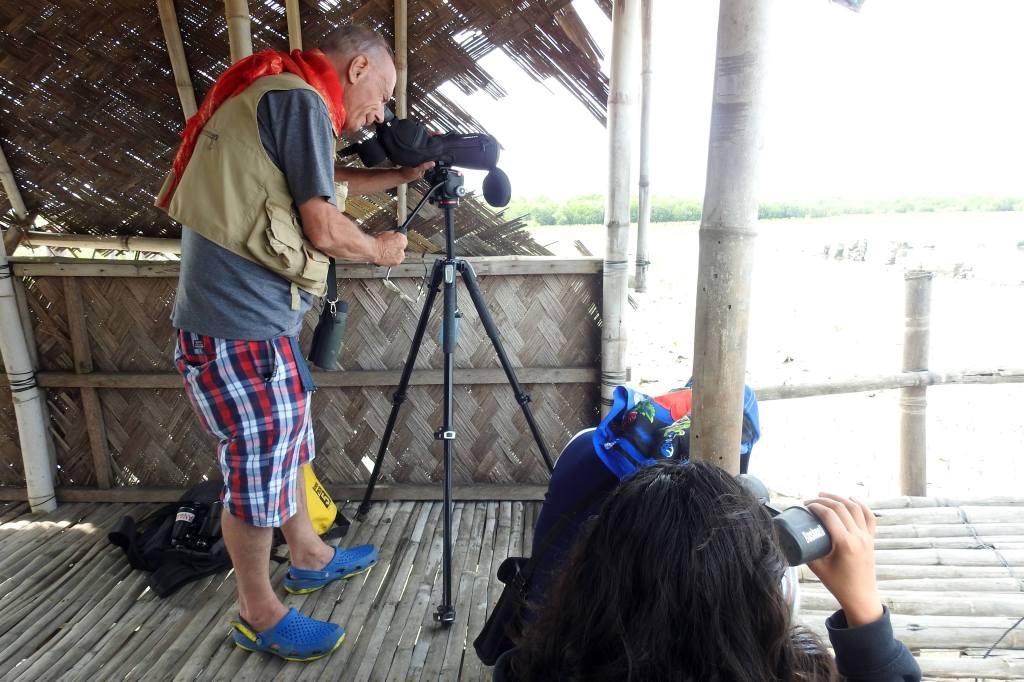
TIP #1 – Have a scope
It all started when I acquired an old spotting scope from a fellow birder. The scope does not look great but its optics are fairly good and you can still see great things. Perhaps this could be the first piece of advice, you need to have a scope (owned or borrowed) and it should be good enough. If you plan to buy, you will need to do research on this and weigh your options based on your budget and the available options here or abroad. There are many good options. Feel free to ask for advice from fellow birders.
TIP #2 – Study!
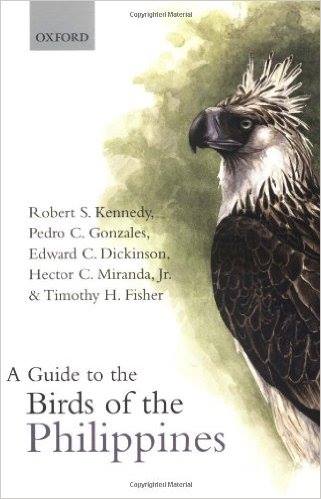
The second recommendation is to study thoroughly the six plates for shorebirds (nos. 16-21) in A Guide to the Birds of the Philippines by Robert S. Kennedy et al, and the short write-ups for each. For a beginner they are very useful and give more than enough information. I like it more than other better guides because you can compare the sizes and general characteristics of birds at one glance. It also shows clearly that there are groups among the birds that can be easily distinguished, either by the general shape/structure or sizes of the birds.
For example, the smaller plovers, the bigger plovers, the curlews, the different types of sandpipers, the knots, the godwits, etc. If you go over it a few times and make some memorization, it will be a big help when birding. (Remember also that some of the birds are not seen so easily, especially if one does the birding in sites near Metro-Manila, which limits the birds one will most likely see.)
TIP #3 – Learn Field Marks
As you study them, and with some experience from actual birdwatching, it will become clear to you that some birds are easily recognizable due to what birders called field marks, actually their outstanding feature.
Examples would be the redshanks that have red legs. Or the Black-winged Stilts that also have red legs but are taller and have mostly white and black plumage, or the Terek Sandpiper that has yellow-orange legs but a pronouncedly upward bill and short stature. It is well known that the Common Sandpiper has this bobbing tail mannerism. The Common Greenshank has a slightly upward bill. The Godwits are also easily recognizable because of their huge beak and the Whimbrel is also easy to spot.

Photo by Djop Tabaranza
TIP #4 – Pay Attention to Size
Another trick that I use is to pay a lot of attention to the sizes of the birds. The Kennedy, or any other guide book, indicates the sizes of each bird. As far as I know, the two sizes mentioned are the distance from the beak to the tail and the wingspan.
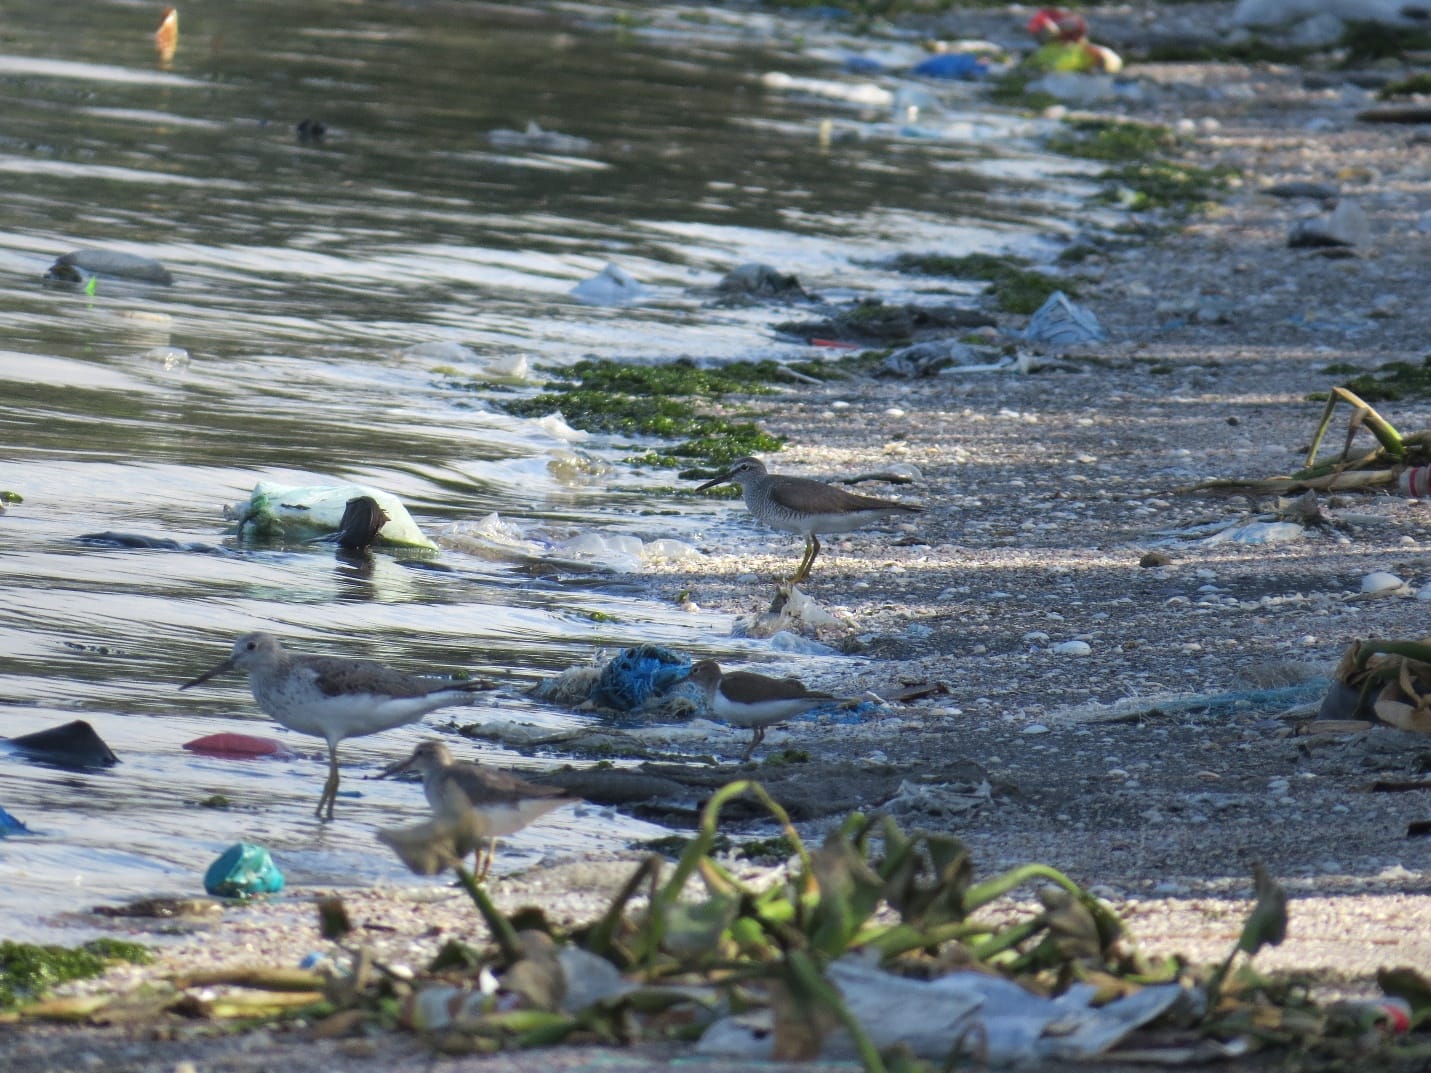
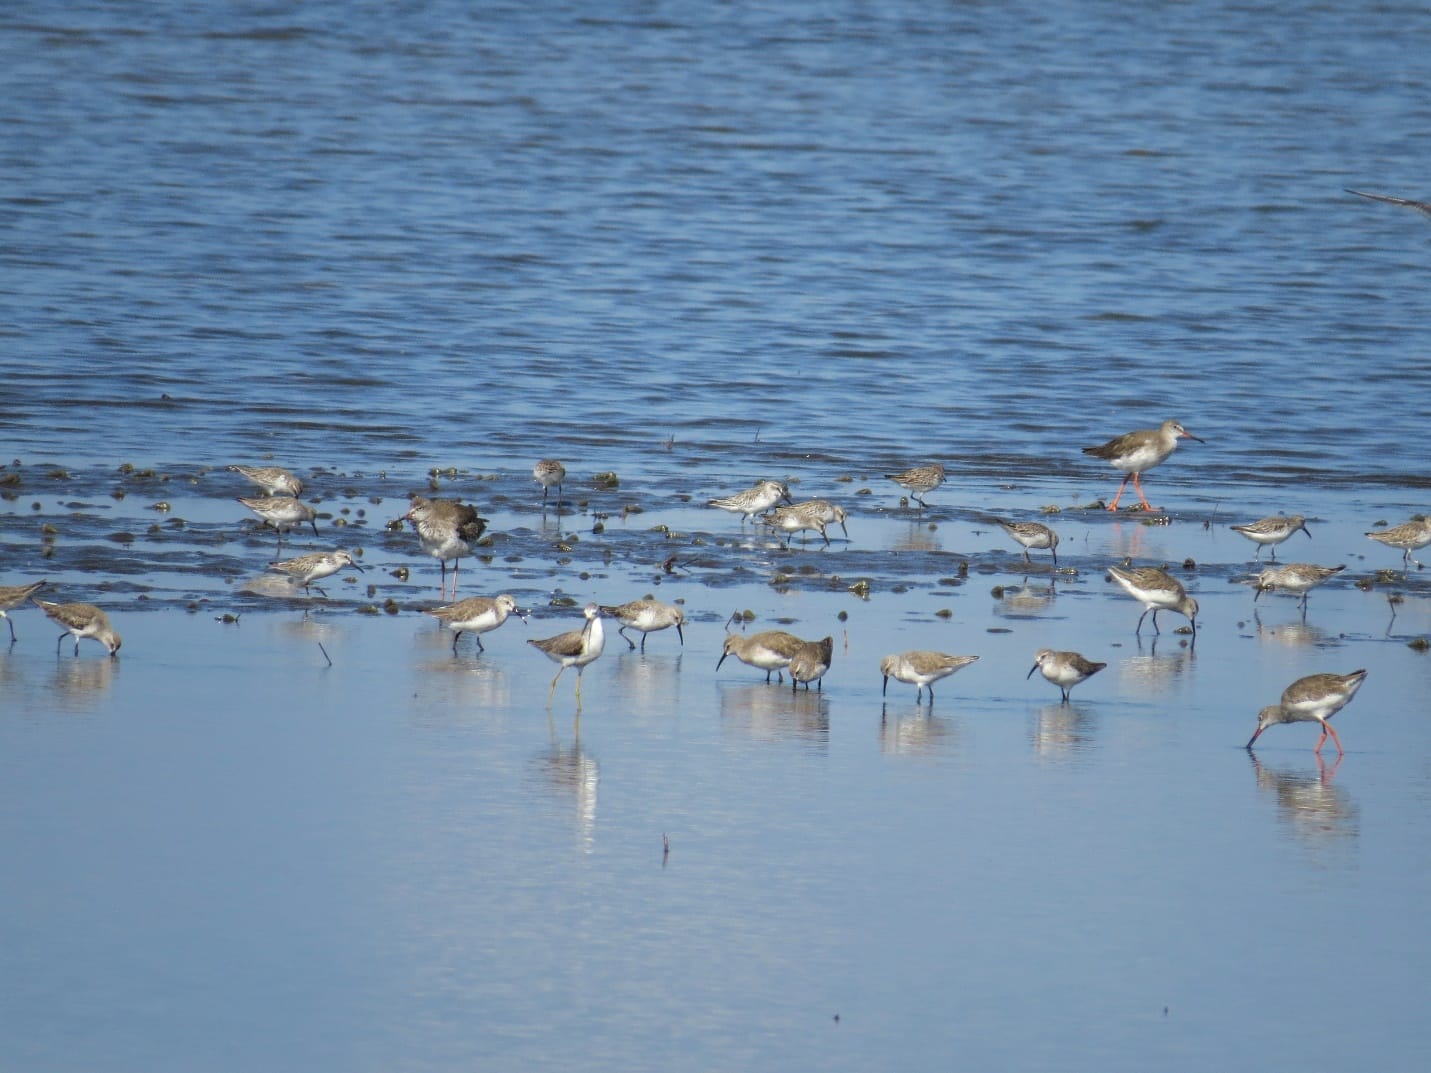
In my not so abundant experience, I have made my own theory that the length dimension given in the guide are not far from the height, as the human eye perceives it. I have not scientific proof and I will not challenge anyone if he proves me otherwise, but for me it has been a big help. Especially when you see several birds from different species together. The Kennedy says that the Common Redshank measures 28 cm, while the Common Greenshank is 32 cm. That is a different of 4 cm, which if you see them nearby is a relative good difference. A Common Sandpiper measures 20 cm and a Marsh Sandpiper is 24 cm long, which makes the second a lot larger comparing the bulk of both. The same approach can help to distinguish between the Grey Plover (now better known as the Black-bellied Plover) and the Pacific Golden Plover, or between the Greater and Lesser Sand-plovers. The examples can go on. I have included in this article a picture I took in Las Piñas-Parañaque Wetland Park (LPPWP) that shows together a Terek Sandpiper (forefront and blurred), a Common Greenshank, a Common Sandpiper, and a Grey-tailed Tattler. I hope you can see how the size is a great way to distinguish them.
TIP #5 – Color of the Legs
My other tip is that I get further insights from is looking at the color of the legs. It is especially helpful in a few cases when it is hard to distinguish similar birds.
For instance, the Kentish Plover tends to have the legs darker while the Little Ringed-Plover are more yellowish. Similarly, the Long-toed Stint has yellowish legs and the Rufous-necked Stint has almost black legs. The beak also provides many opportunities to distinguish birds that may look alike, like the Barred-tailed and Black-tailed Godwits (upturned beak or not), or the three Sandpipers with slightly decurved beaks that have small differences for each species.
TIP #6 – A Camera Can Come in Handy
Another valuable aid for recognizing shorebirds is the use of a photographic camera with a long zoom. Telephoto lenses are ideal but bridge cameras such as the Canon PowerShot SX40 HS, SX50 HS, or SX 60 HS or similar ones are also good options.
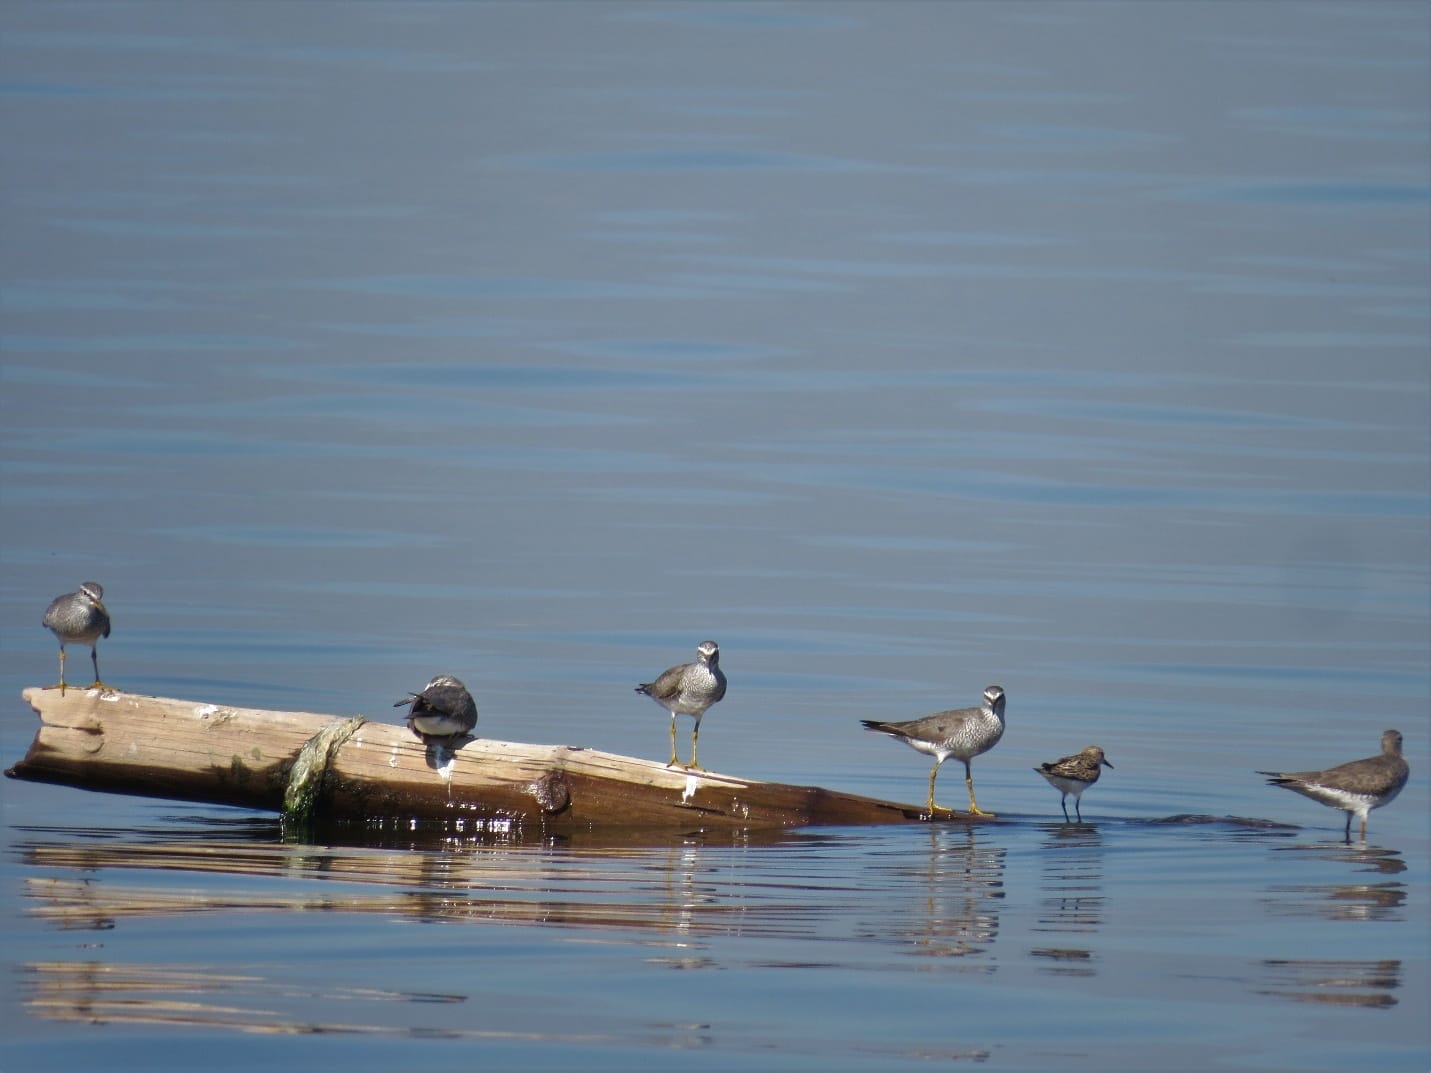
Shorebirds are easy to photograph because they spend long periods feeding, albeit far away from us. It has helped me a lot to take many pictures and look at them at home in my desktop, where I can enlarge them and notice more details. An example of how helpful they can be was the picture I took in LPPWP of six birds on top of a floating log. Four of them were obviously Grey-tailed Tattlers but I did not notice when I was in the field that there was a different kind of bird. The bird was smaller and it was positioned giving its back so I was only able to recognize it when I saw another picture of the bird in flight that showed its black legs and helped me conclude (based on the bulk, size, feather patterns, beak, but above all the black legs) that it was a Rufous-necked Stint.

Another example of distinguishing species through my pictures is a group of 25 birds feeding in shallow waters I took in Tibsoc (San Enrique, Negros Occidental). The bigger Common Redshanks and a Common Greenshank are easily recognizable, but then there are other smaller birds with decurved bills. It was only later when looking at the pictures that I could distinguish between the larger (20 cm and longer bill) Curlew Sandpiper and the smaller Broad-billed Sandpiper (16.5 cm and especially the little break at the tip of the decurved bill). Looking at your pictures and distinguishing the unique features and differences among the shorebirds is a good means to train oneself.
I hope nobody believes that after reading this article one will know how to recognize shorebirds easily but at least I hope it will help dismiss the familiar myth I heard since my early times of birding, and which I still hear occasionally, that “shorebirds are not for everyone.”
After I took these birds seriously, I believe anyone can enjoy them and it is a lot easier than it looks to distinguish them, or at least it becomes as exciting as looking at other birds. My wish is that many more give it a try to see if they also end up enjoying them.
Those who have been birding shorebirds long enough know that there are plenty of varieties in the feathers of each species, depending on the age of the bird and whether it is breeding or non-breeding plumage. I don’t think I should touch much on that, of which I know little. Due to our climate and location, we get shorebirds mostly in non-breeding feathers. Most of their feathers tend to be a lot less colorful than during the breeding season. Yet, the birds can still be recognized by their other features. I leave it to others to explain how to look at feathers.
The only other experience I would like to share is that in the Philippines we have brief periods of time during the year when we can still enjoy the birds in breeding plumage, at least in some degree of it. This happens when they are preparing to migrate, around late April or May, and when they arrive in September. The examples I have seen look really different and more colorful, say, the Rufous-necked Stint is really reddish, or the Pacific Golden Plover looks black and gold. I am hoping to see soon Red Knots or the Godwits in their reddish breeding plumage.
We are now in the midst of the shorebirds season. If you wish to become more familiar with them, memorize the Kennedy, get your binoculars and a spotting scope and go to the mudflats. I guarantee the thrill.